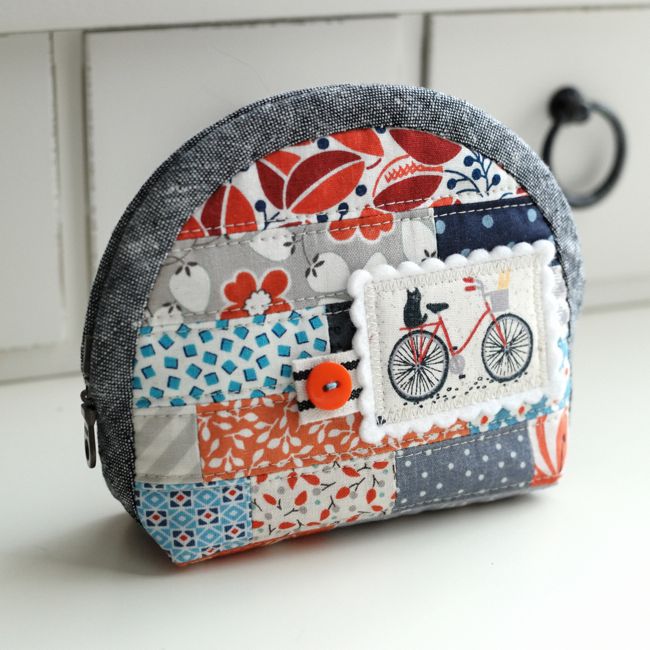
We will be sewing together for the next few weeks and I Can. Not. Wait. to see all the sweet little pouches that you are going to make! I have teamed up with some fabulous companies to offer some really fun prizes, and I'm so excited to share my first sponsor with you!

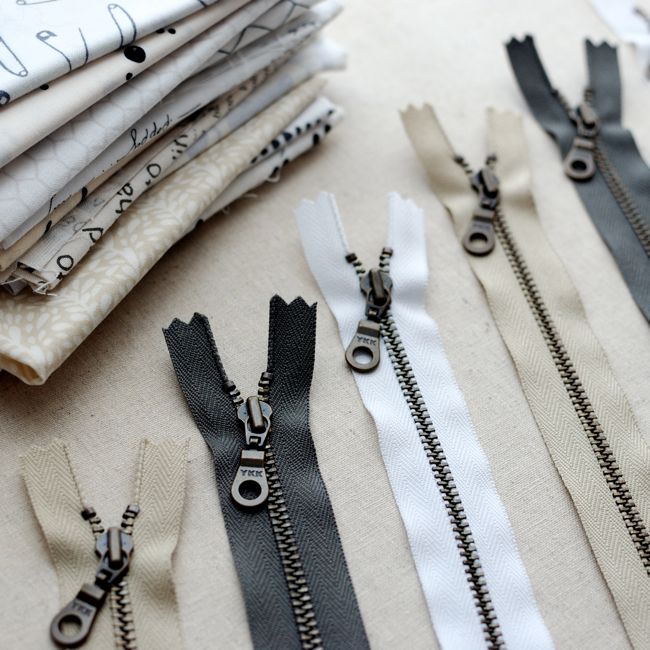
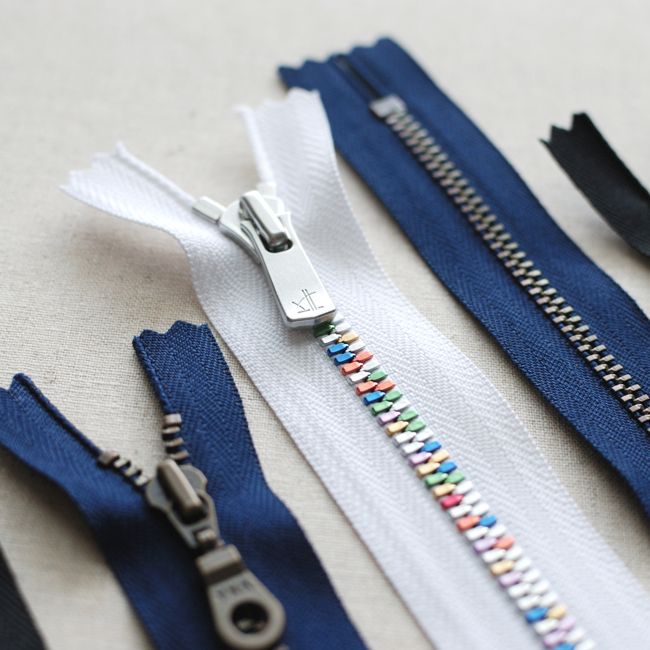
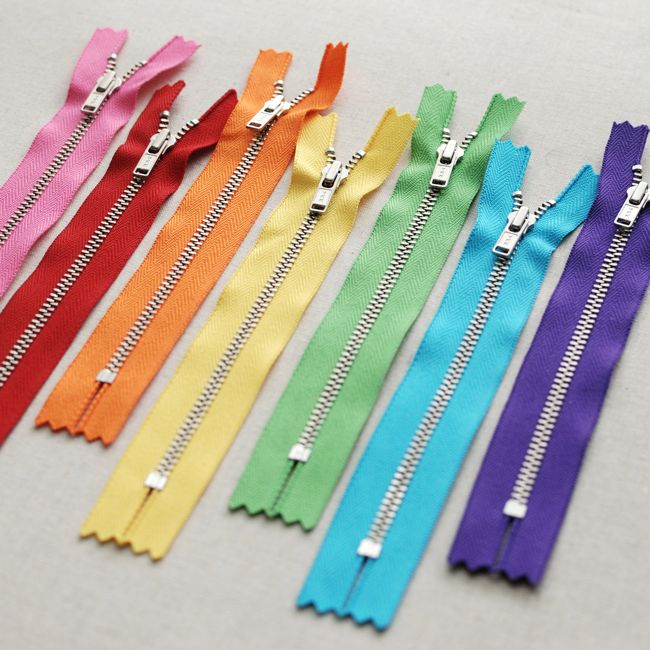
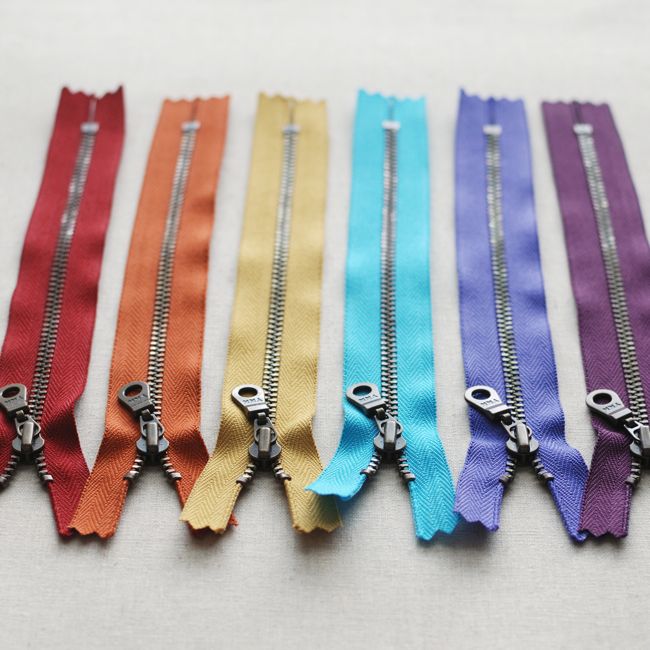
Zipit has a ginormous selection of YKK zippers, from regular nylon zips in tons of colors to all the cutest metal designs, including the donut pulls that are my current obsession. Jennie from Zipit has sent me a fantastic bundle of zippers that will be included in the grand prize at the end of the sew along.
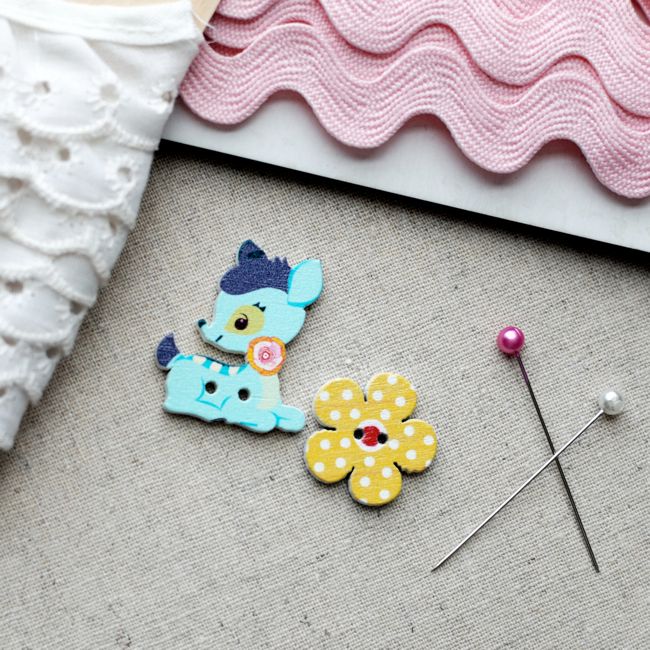
Check out these beautiful zips (and bonus a-deer-able wood buttons!)--they could be yours if you sew along with us!

Scrappy Patchwork Notions Pouch Tutorial
(Note: this is an add-on to my pattern for purchase--you will still need the pattern to complete your bag!)
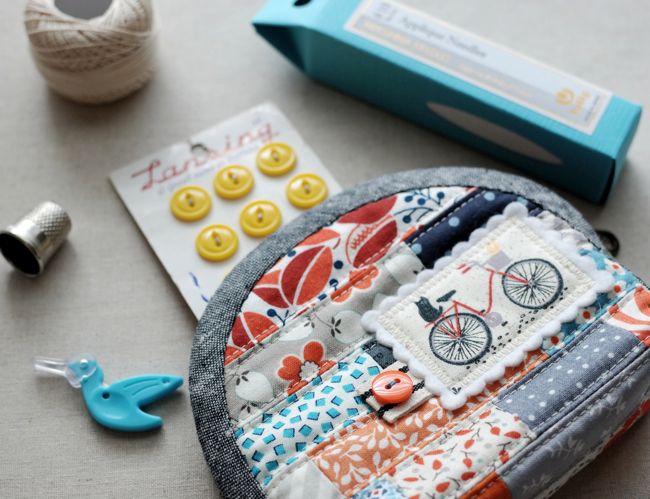
You know how sometimes you hope and wish that the measurements will work out *just so* and then they DO?? Yeah, that never happens. Except this one time! I really wanted to use 3/4" patchwork strips on the medium sized pouch, and like magic, it worked out with 12 perfect scrappy rows!
Here’s what you need:
2 strips of quilting cotton prints - 2-1/2"H x 7"L (for the top and bottom)
lots of 1-1/4" quilting cotton print strips of varying lengths to make 10 scrappy rows
quilting cotton fabric for lining
cotton batting
8" zipper
pattern (you will need the medium template)
1. On a flat surface (I used a plain white canvas), lay out one of the 2-1/2" x 7" strips on top, then layer your scrappy strips below into 10 rows. Be sure to take into account 1/4" seam allowances to be sure you have enough length. Lay the remaining 2-1/2" strip on the bottom. I used 30 fabrics in total for the patchwork, without any repeats. All of the middle rows have between 2 to 4 fabrics each.
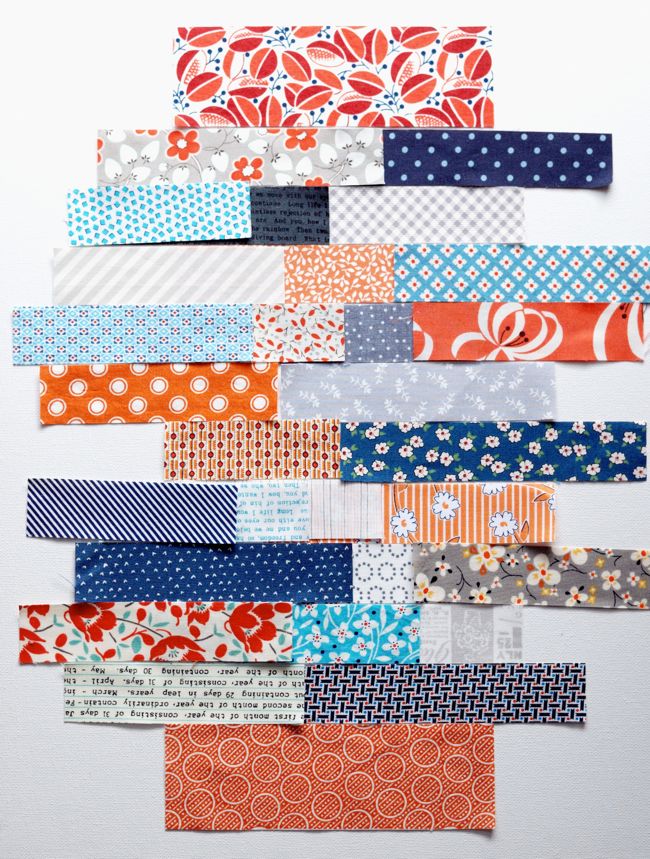
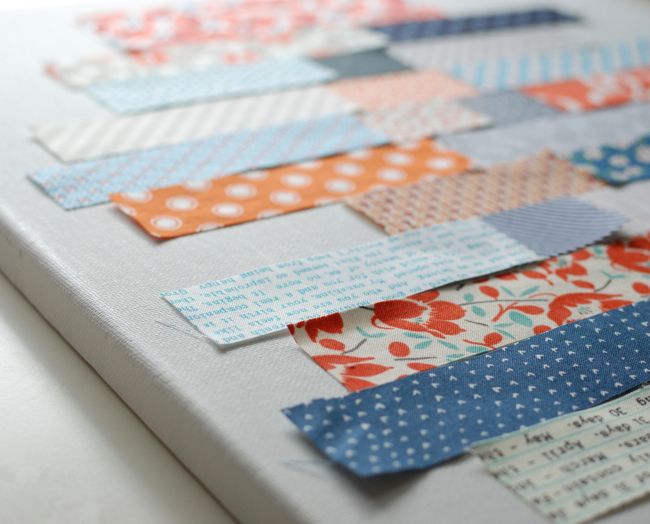
2. Move the strips around until you are satisfied with how they look. (You may notice that my strips are in slightly different places at each step as I kept fiddling with them until I was happy!)
Things to remember:
Rows 6 and 7 from the top will be underneath the bag
If using directional prints, make sure that they will be facing the correct direction. The diagram in Step 4 has arrows pointing in the direction that the top of the fabrics should be facing
3. Sew the fabrics in each row, end to end, trimming the strips to size as you sew. Press the seam allowances open.
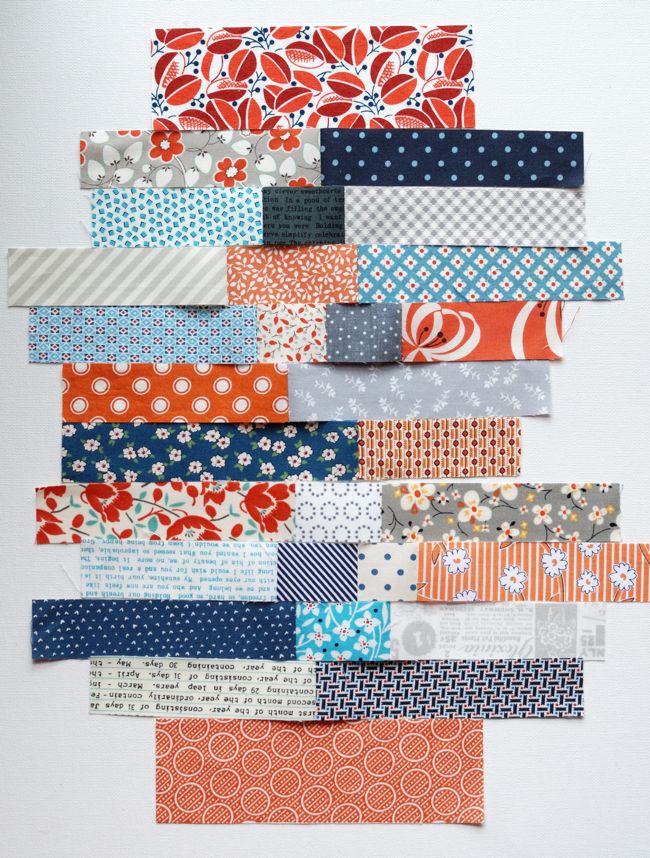
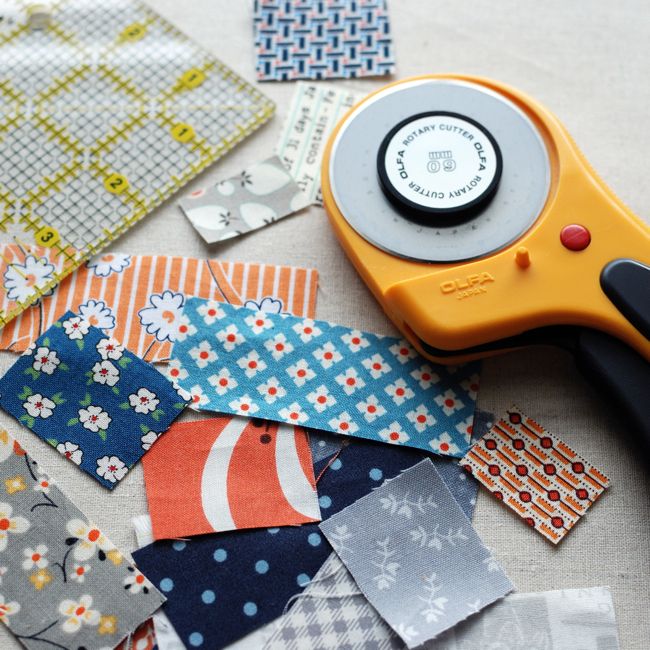
4. Adjust the rows until you like the placement, then trim each row to 7". Sew the rows together with a precise 1/4" seam allowance, and press the seam allowances open.
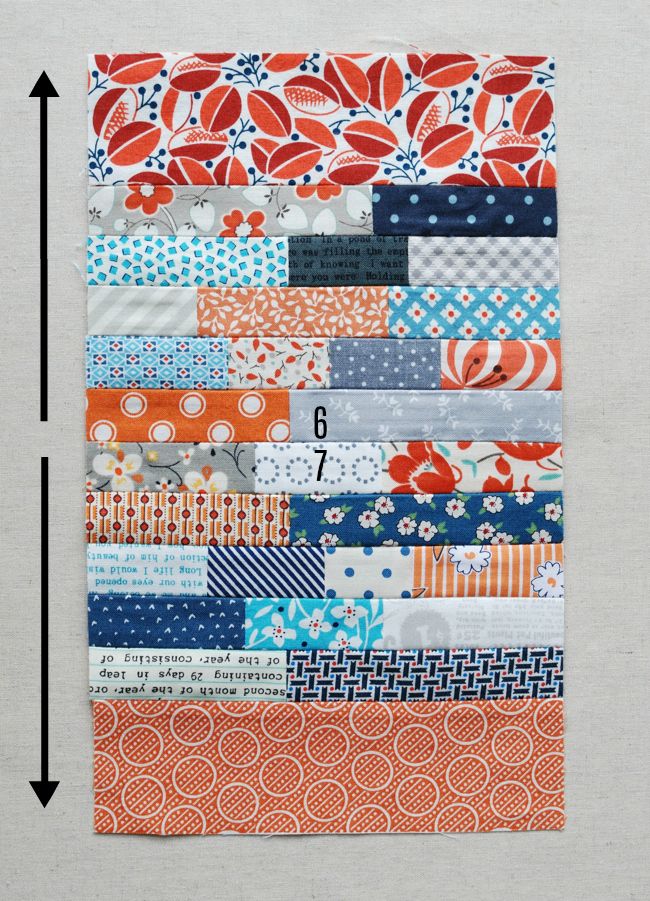
5. Make your quilt sandwich as directed in the pattern and quilt as desired. I quilted a scant 1/8" on either side of every long seam. Trim the fabrics to the size of the patchwork before using the template.
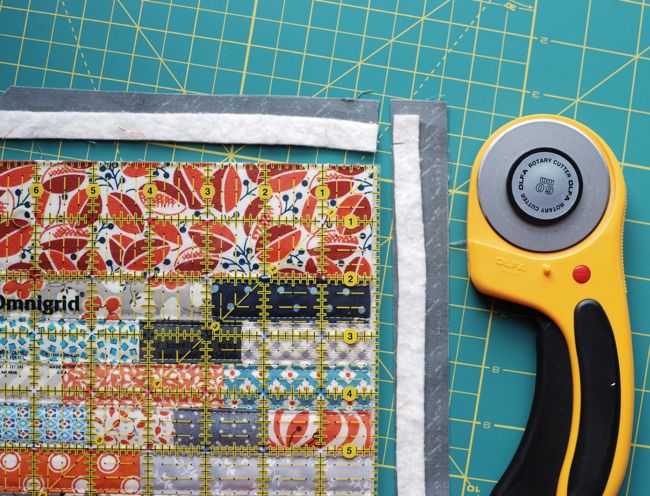
6. When you cut out your bag, fold it in half exactly on the seam between the 6th and 7th rows, and place the template arrows on that seam. Use the medium sized template.
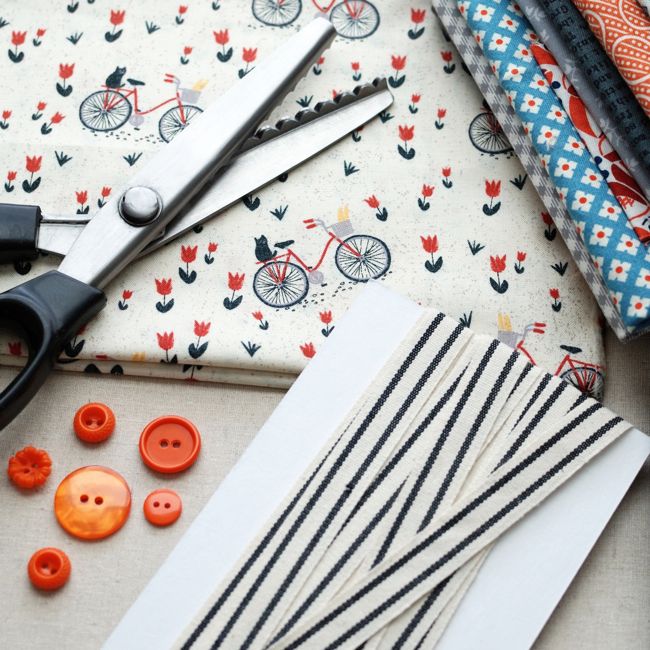
7. Add your embellishments. Instructions for fabric stamps and trims are in the pattern. If desired, sew a folded piece of ribbon to the front of the bag before sewing on the binding.
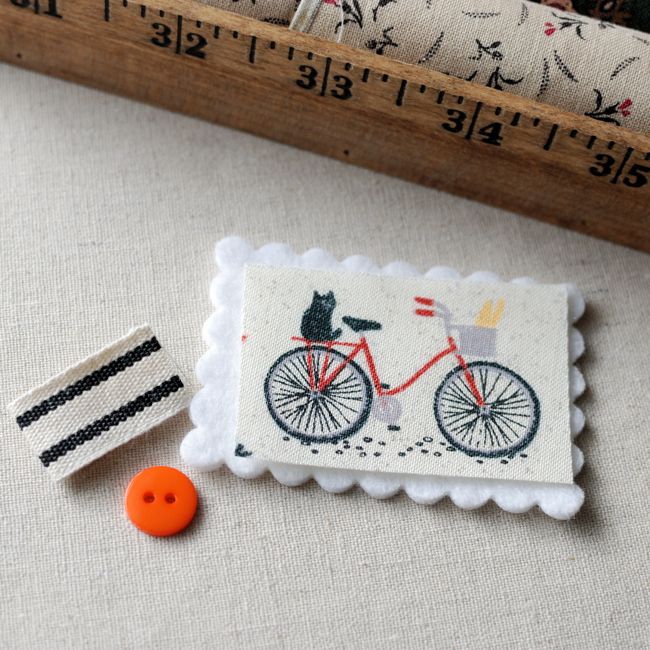
Pro Tip: Keep your little embellishments and zipper together in a tray or box so they don't get buried under piles of fabric or fall behind your work table (I'm sure neither of those things have ever happened to me, why do you ask??).
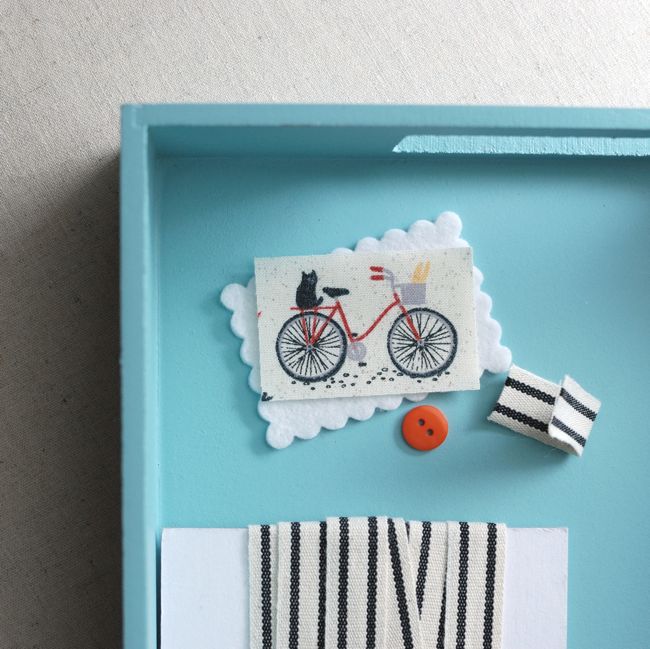
8. Follow the remaining pattern instructions to assemble your bag.
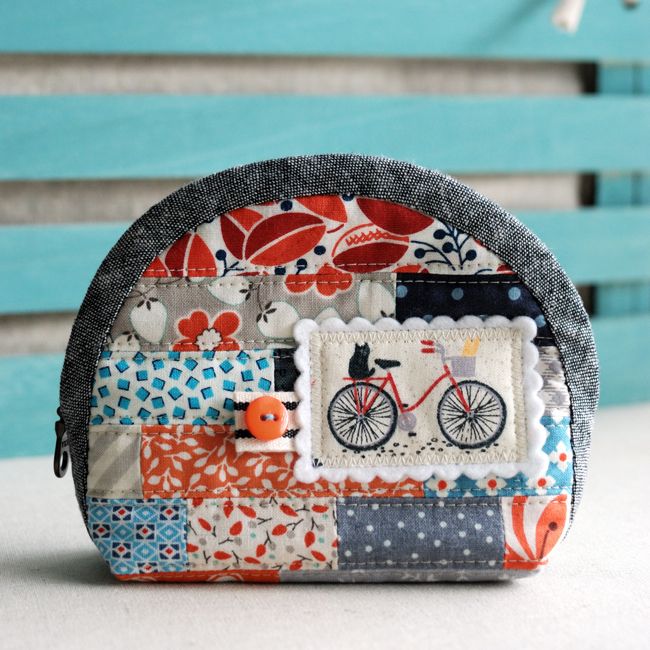
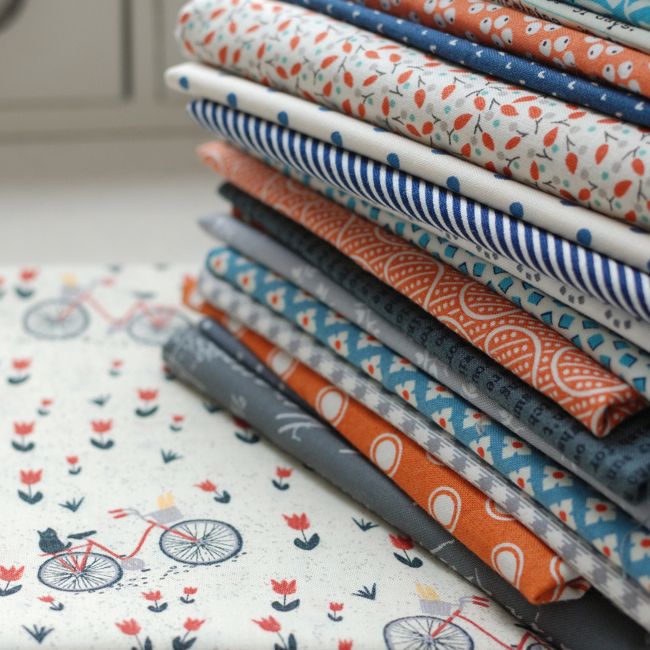
Remember to post your project photos on Instagram with the hashtag #NotionsPouchSAL and #retromamapattern as well as follow all of the hosts:
Cat @tincatsew
Mary @SunnyDaySupply
Kim @robotmomsews
Stephanie @sissybellesews
Minki @zeriano
Heidi @fabricmutt
Happy Stitching!
Kim

So excited! I just got the pattern, and while I'm not sure I'll finish in time to be part of the SAL, I know I'll be making lots of these - they're cute AND handy - my favorite combo. :) Speaking of zippers, I guess obsessed is the right word ... I've been looking for one of the brass versions with the beaded-looking pull that you show in the first picture on your last post, and not finding anything like it, even at zipit, sadly. Any ideas? Even a tip on what it's called might improve my chances. Thanks so much!
ReplyDeleteYay! I love those brass zippers that I used on that other bag...I purchased them from a seller overseas that I hesitate to recommend because I've had the odd order go missing, but try searching for "antique brass metal zippers" on Etsy and you'll find some sellers from China and Australia that carry them!
Delete